AMERICAN WEDDINGS BLOG
Stay up to date with the latest wedding ceremony trends, script writing inspiration, tips and advice for first-time officiants, and news that matters to couples and wedding ministers.
Stay up to date with the latest wedding ceremony trends, script writing inspiration, tips and advice for first-time officiants, and news that matters to couples and wedding ministers.
Published Thursday, Jun. 12th, 2025

This year marks the 10 year anniversary of Obergefell v. Hodges – the Supreme Court decision that legalized same-sex marriage on June 26th, 2015. It’s an incredible milestone for love, dignity, and family!
Here at AMM, we’re celebrating Marriage Equality Day all month long with virtual events for officiants, in-person gatherings, LGBTQIA+ focused articles and wedding ceremony scripts, conversation, creativity, community, and a lot of fun crafts.
Want to join in the fun and share your support for marriage equality? Check out the easy zine tutorial below!
Zines are a DIY approach to publishing that lets anyone – from any walk of life – share their thoughts and feelings in a creative way. Zines are inexpensive, accessible, and fun to make. And they have a long history of amplifying marginalized voices that aren’t always featured in the mainstream. Even better, zines don’t take any special art or writing skills to create. All you need is something to say, a pencil, and a piece of paper.
You only need one sheet of paper, something to write with, and a pair of scissors to create this zine. (An 8.5x11” sheet of printer paper works!) Once your single sheet of paper is cut and folded, your DIY zine will have a front and back cover, and 6 interior pages to fill with whatever inspires you. (Plus an extra ‘hidden’ page inside the fold.)
Other optional supplies include pens and markers, colored pencils, scrap paper, magazines and newspapers to collage with, glue, glitter, stickers, and any other 3d objects you can staple, stitch, or affix to the page!
Want to make copies of your zine to share with friends? You can photocopy your finished zine to print as many additional copies as you wish, or scan it to share a digital version online.
Your zine can say anything you want it to, and include anything you want it to. Some zines are informational and educational. Some zines have mostly words, while other zines are mostly pictures. You can illustrate it yourself, or cut and paste images from magazines and books. Tell a personal story, share a historical timeline of same-sex marriage rights, add images of your favorite LGBTQ+ couples, report on current events, share poetry or fiction – or anything else that inspires you.
Have an idea? You’re ready to start making a zine!
First, here's a quick zine making video for those who prefer to see it in action. Next, we've included step-by-step written instructions and images to help you get started.
1. Fold the sheet of paper in half hamburger style (aka: so that it’s chunky like a hamburger, not skinny like a hot dog) [See below.]


2. Open the sheet back up so that the crease is down the middle.
3. Fold one side of the paper in so that it meets the middle crease. [See below.]

4. Repeat step 3: Fold the second side of the paper in so that it meets the middle crease. [See below.]

5. Unfold the paper. You now have 4 equal sections (give or take). You’re almost there!
6. Fold the paper in half hotdog style (aka: so that it’s skinny like a hot dog) [See below.]

7. Unfold the paper. You now have 8 equal sections. [See below.]

8. Grab your scissors for this step. It’s important to get this step right so that your zine folds correctly. With that in mind: Fold the paper in half again, hamburger style. Then, carefully cut halfway along the crease. Only cut one section deep (as shown). [See below.]

9. Open your paper and fold it in half hotdog style. You will now have a small opening in the middle of your paper, and 8 equal sections (which will be your cover and pages). [See below.]

10. Push the sides of your paper together in the opposite direction of the opening to create a small booklet (as shown). [See below.]


11. Optional: In pencil, mark the front and back covers of your zine so that you don’t lose your place while you decorate. (We've marked in pen to make this step easier to see.) [See below.]

12. Start decorating! Add words, images, and inspiration.
Once you’re finished creating your zine, you can unfold it and lay it flat to scan or photocopy. Then print as many copies you like!

Tag us on TikTok @theamm.org or Instagram @americanmarriageministries so that we can see what you create.

Choose Your Officiant with our "Will You Marry Us?" Gift Package.
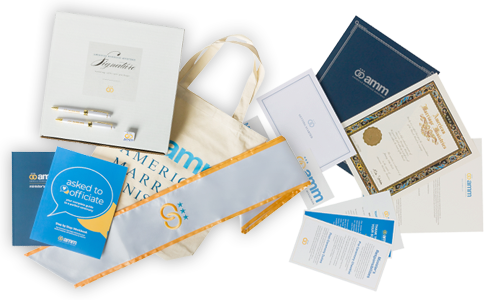
Our premiere package contains everyting you need to officiate like a pro.
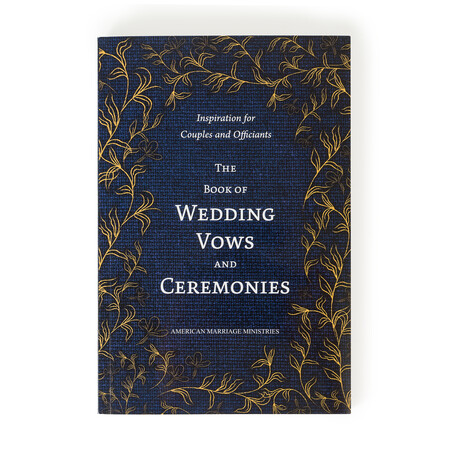
It's finally here! Timeless scripts and heartfelt vow inspiration to bring life to your ceremony.
Learn from the Pros to Officiate with Confidence!
POPULAR ARTICLES
Your generosity keeps American Marriage Ministries running.

Everything you need to know to officiate.

Need inspiration? Check out our free ceremony scripts!
Become a Wedding Officiant with Our Free Online Ordination!


